You can select only the tools you are willing to show to AI from your in-house MCP server, using checkboxes on the dashboard. But the screen can only save a proposal. Nothing takes effect until someone in your organization approves it locally. This two-step structure is the core of WireCanal's MCP security.
A WireCanal MCP canal starts with all tools denied by default. The allowlist that decides which tools the AI may see lives only in wirecanal.json, the local file next to the Agent running inside your network — the cloud side does not hold it. So even if something happened to the dashboard, which of your internal tools are visible to AI would not change one bit.
That said, hand-writing the allowlist every time is tedious. So the dashboard provides a "Tool permissions" editor. Here is how it works:
wirecanal.jsonA working MCP canal (if you do not have one yet, start with a guide such as Connect with ChatGPT). Automatic tool-name detection and the applied-state display require Agent v0.17 or later (auto-update is on by default, so normally there is nothing to do). Tool permissions are available on all plans.
Open the canal's "MCP connection" tab and you will find the "Tool permissions (which tools the AI may see)" card.
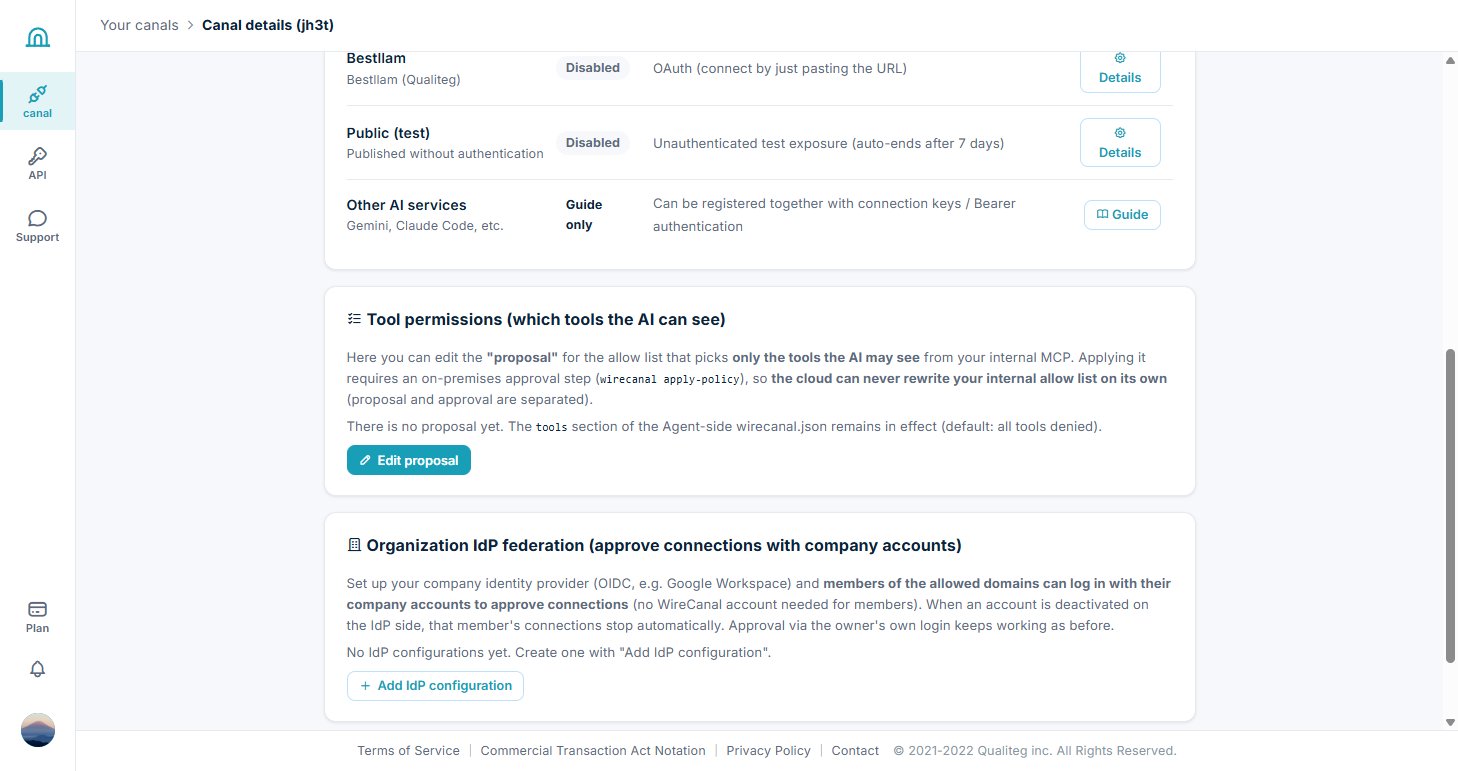
Click "Edit proposal" and the tool names the connected Agent has detected from your in-house MCP appear as checkboxes. Just check the ones you want to expose. You can also add names by hand, or choose options such as "deny tools with destructive names (delete/drop, etc.) even if they are on the allowlist".
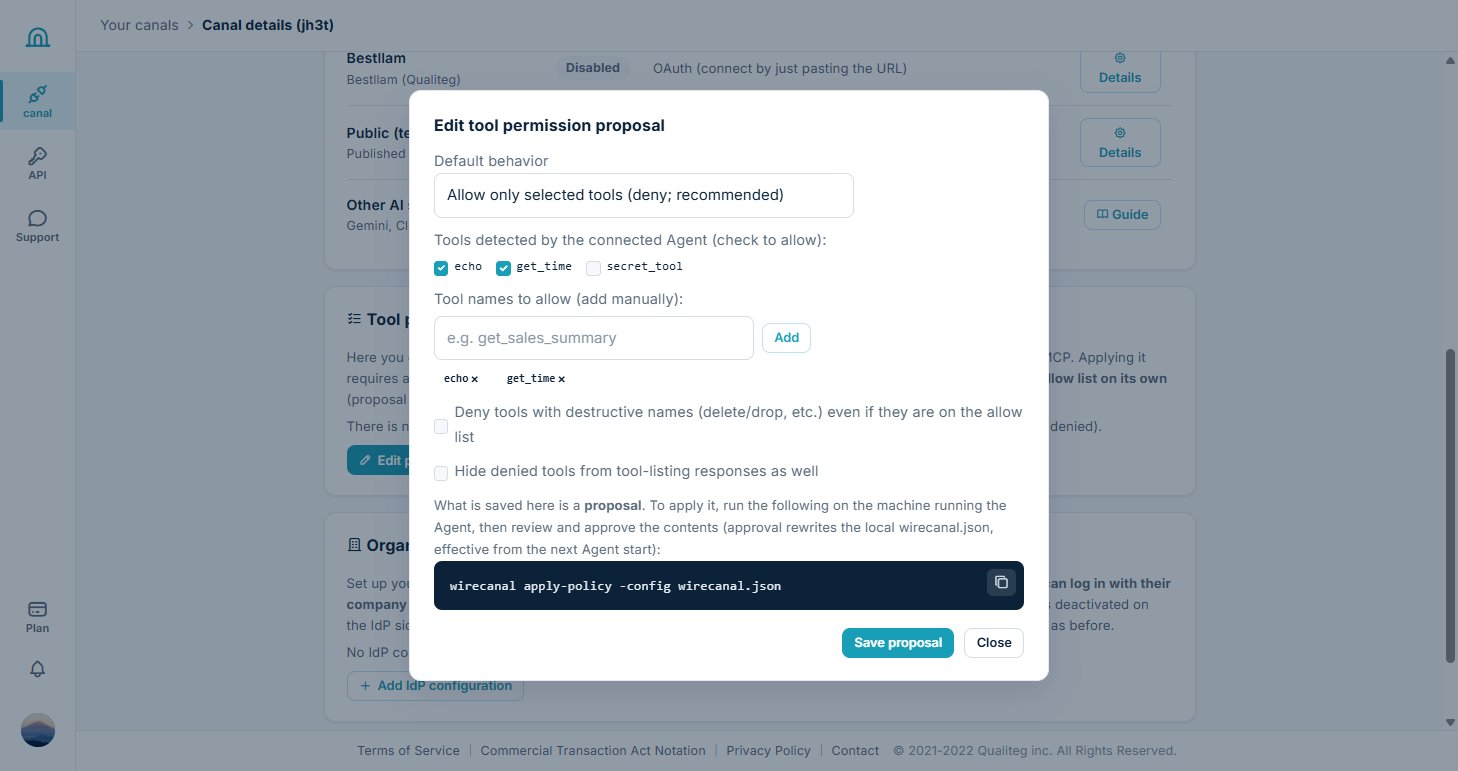
Click "Save proposal" and the card changes to "Pending changes". At this point, nothing has changed in what the AI can see. In fact, if the AI calls a tool that is in the proposal, it is still denied.
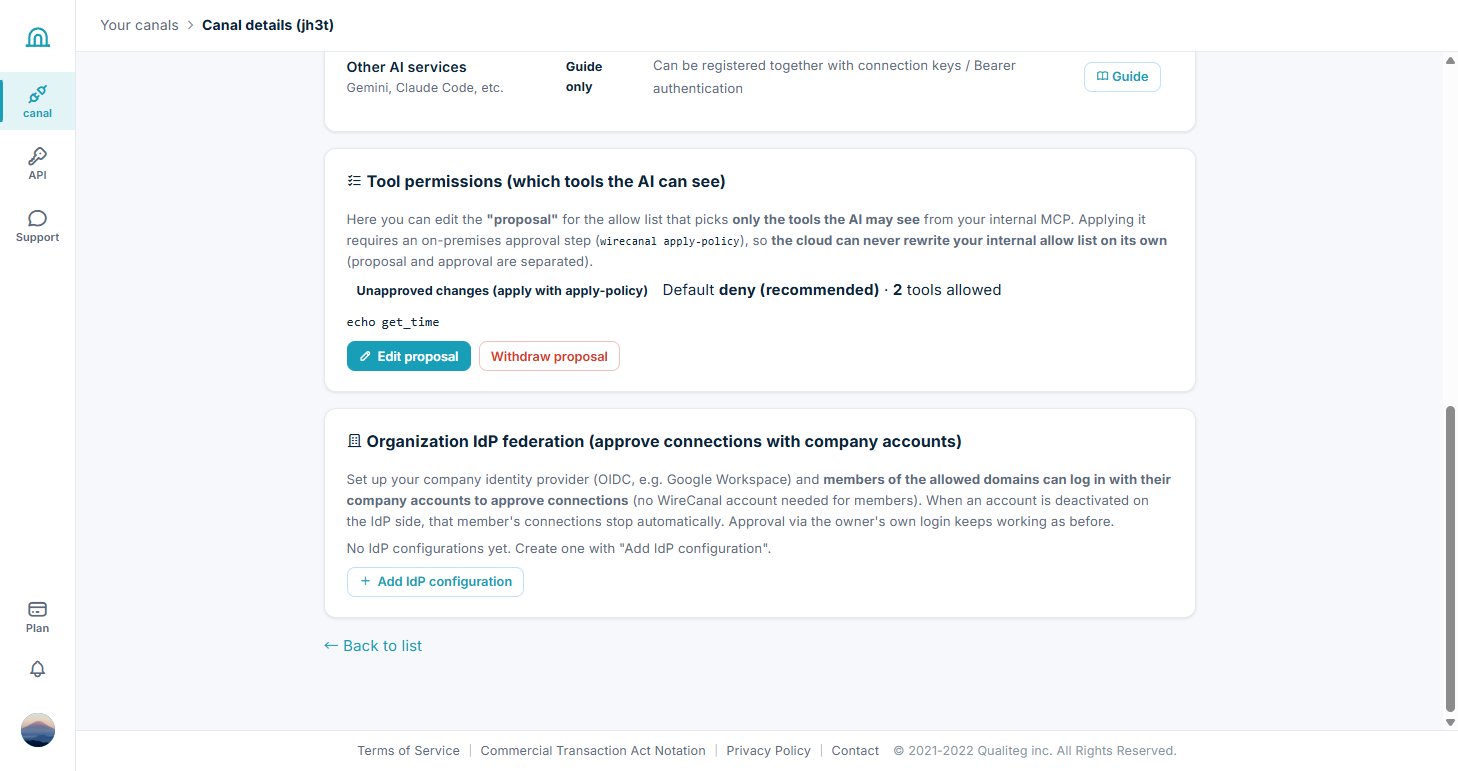
On the machine where the Agent runs, execute the approval command. It fetches the proposal from the cloud, shows the diff against the current configuration, and then writes it to the local wirecanal.json (without -yes, it asks for y/N confirmation).
$ wirecanal apply-policy -config wirecanal.json
wirecanal apply-policy: diff between the proposal for canal 72jo and the current configuration:
  add to allow: get_sales_summary
  add to allow: search_products
  deny_destructive: false -> true
Apply these changes to tools in wirecanal.json? [y/N]: y
wirecanal apply-policy: applied. Effective from the next Agent start
After approving, restart the Agent. Only then do the selected tools become visible to the AI.
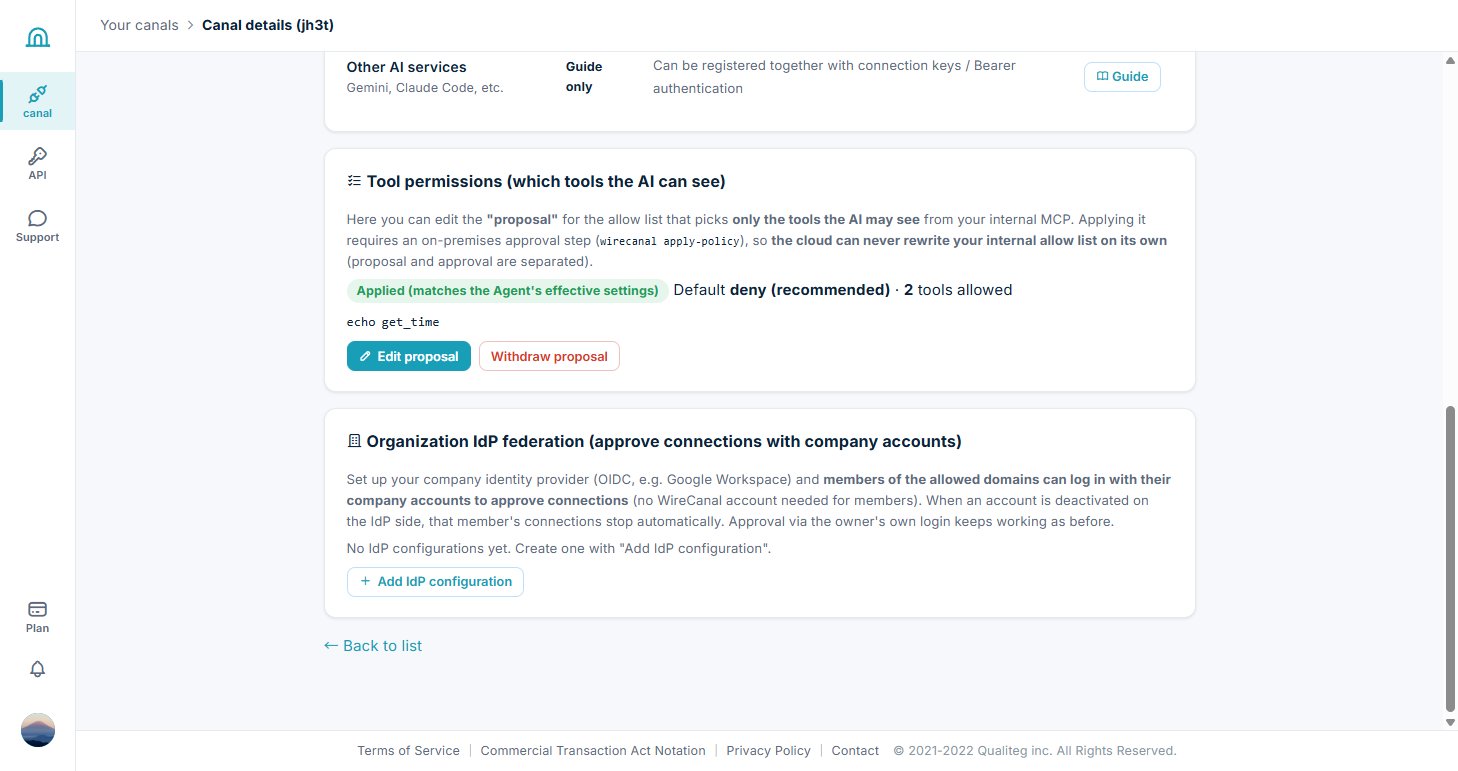
When the restarted Agent connects, the card changes to "Applied (matches the Agent's effective configuration)". Only the allowed tools respond to the AI; any other tool is refused before it ever reaches your in-house MCP (you can also choose the option to hide them from the tool listing).
If you prefer to configure this programmatically, the same can be done through the public API (tool permissions endpoints). For using it with your whole organization, see Let your organization's members use it (organization IdP integration); for the overall design philosophy, see Security.
Sign-up is free. No credit card required — create your first canal right now.
 WireCanal