From creating the canal to registering a custom connector in claude.ai, granting approval, and verifying it works. A careful step-by-step walkthrough with screenshots of the actual screens.
We will make the MCP server running on your local (in-house) machine usable from claude.ai — without opening any inbound ports. The flow has 4 parts: create a canal in WireCanal → start the Agent → register the connector in Claude → approve the connection.
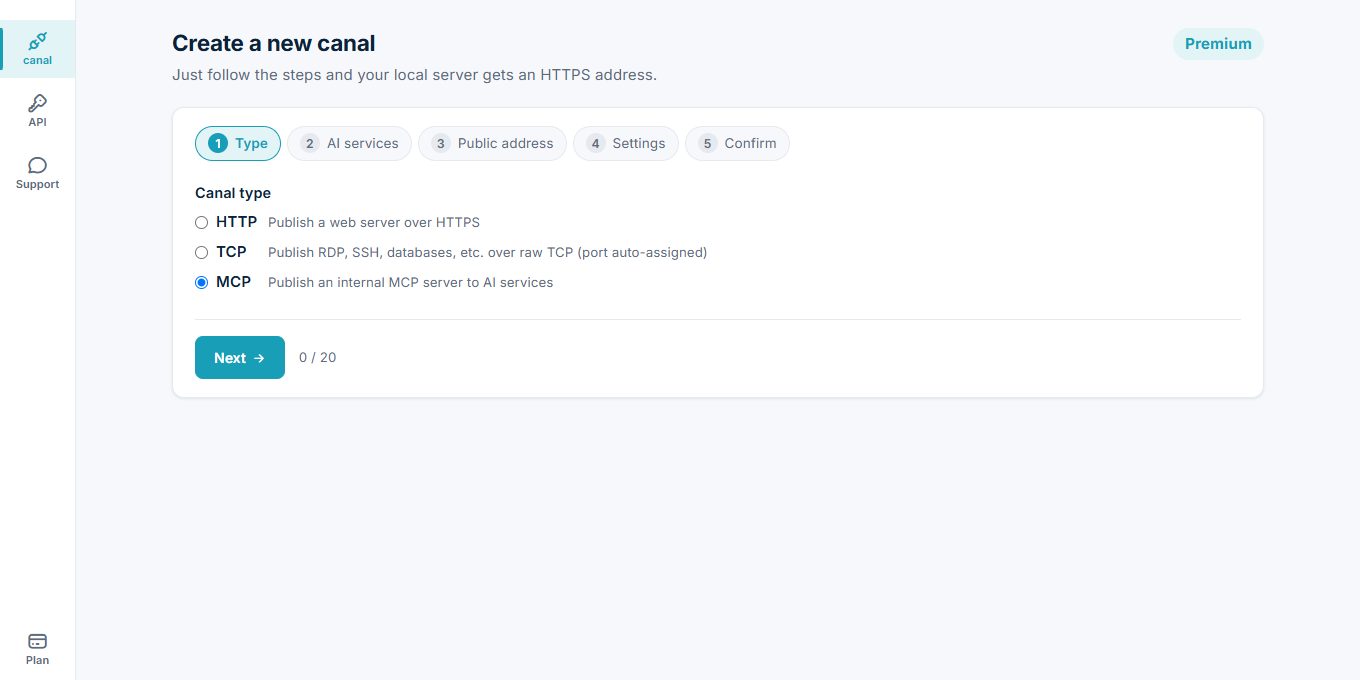
http://localhost:9310/mcp)On the dashboard, click "Create a new canal", choose MCP as the type, and click "Next".
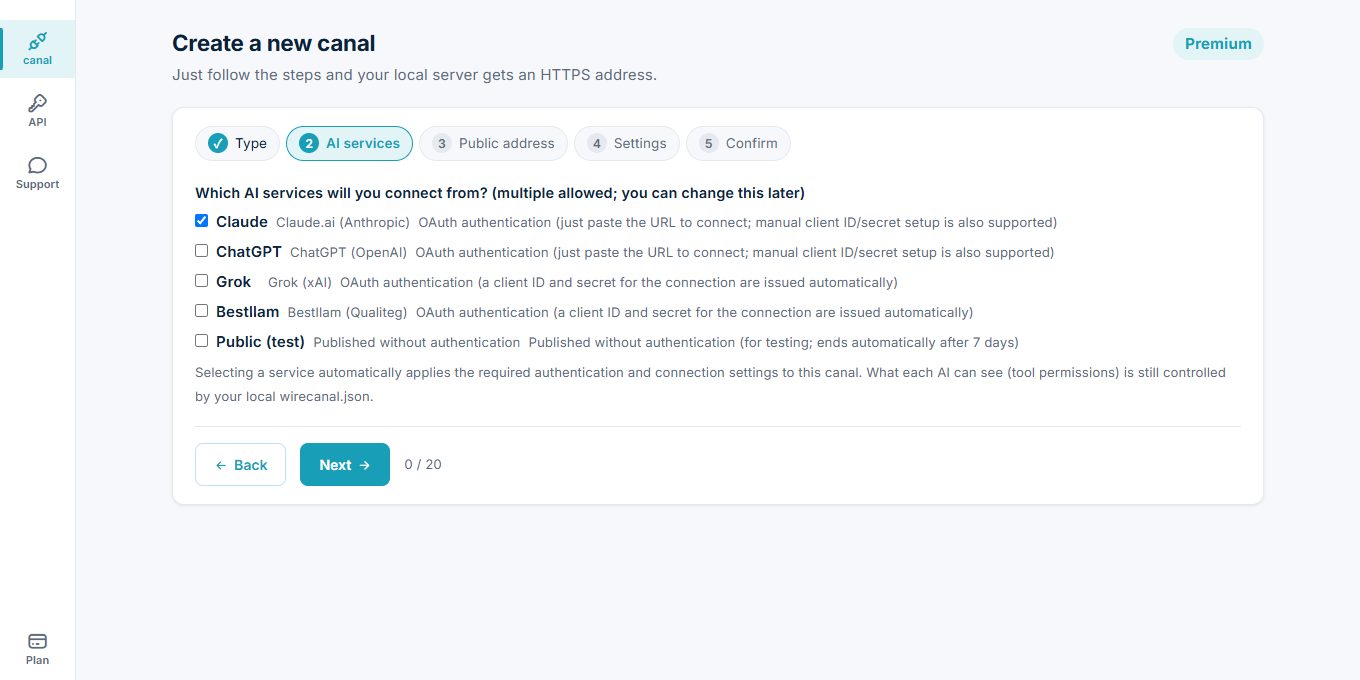
Just pick the AI you will use, and the connection settings for that AI are prepared automatically. Here, check Claude.
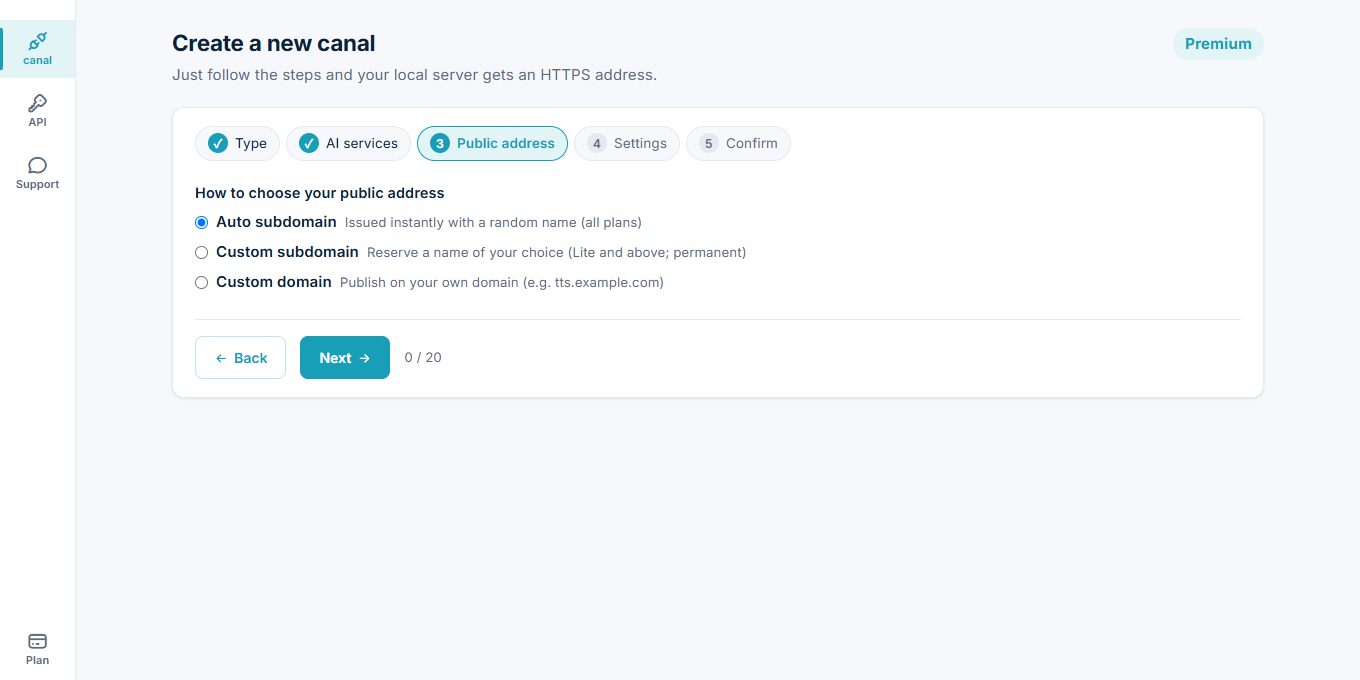
For the public address (hostname), the "auto-assigned subdomain" is fine. You can also reserve a name of your choice or use a custom domain.
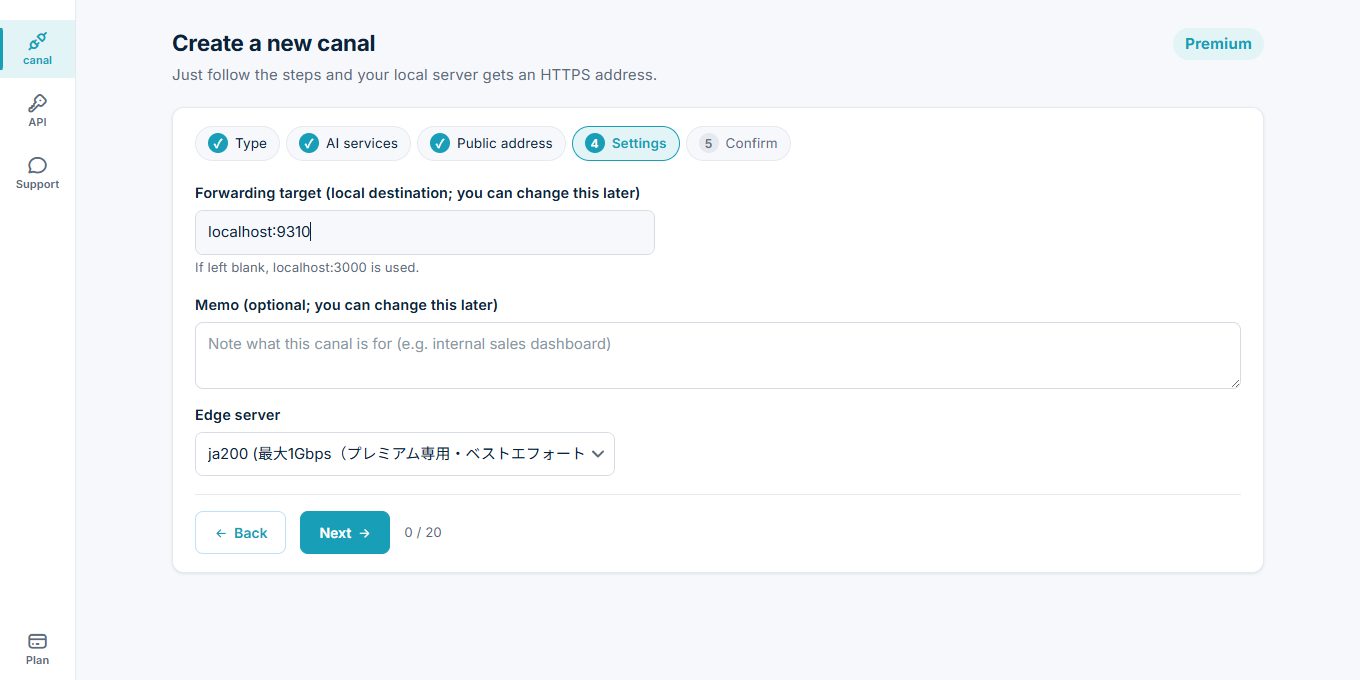
For the forwarding target, enter the address of the MCP server running on your machine (e.g. localhost:9310).
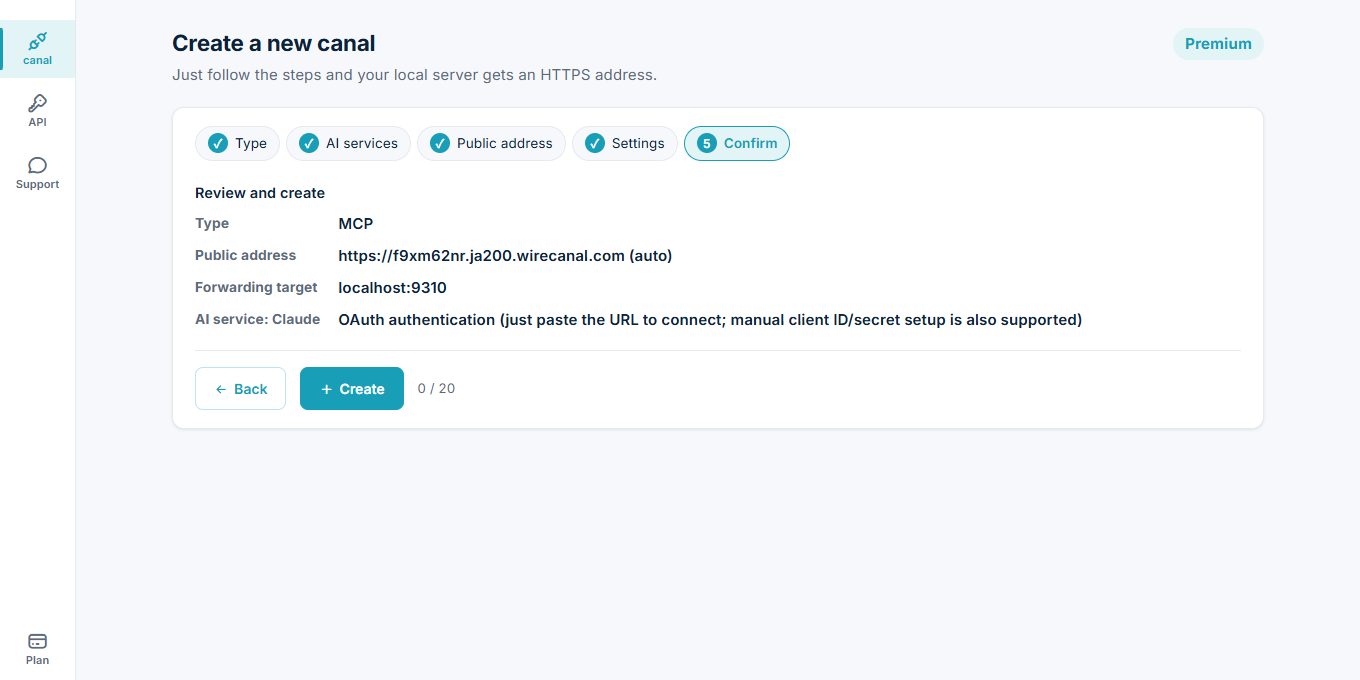
Right after creation, the "MCP connection" tab shows client credentials — but for Claude, you connect by simply pasting the canal URL (the necessary settings are configured automatically). The client credentials are only for cases where you want to configure things manually.
Download the configuration file wirecanal.json from the "Setup" tab, and list only the tool names you are willing to show to the outside AI in tools.allow (the default is deny-all). For the syntax and all options, see the wirecanal.json configuration reference.
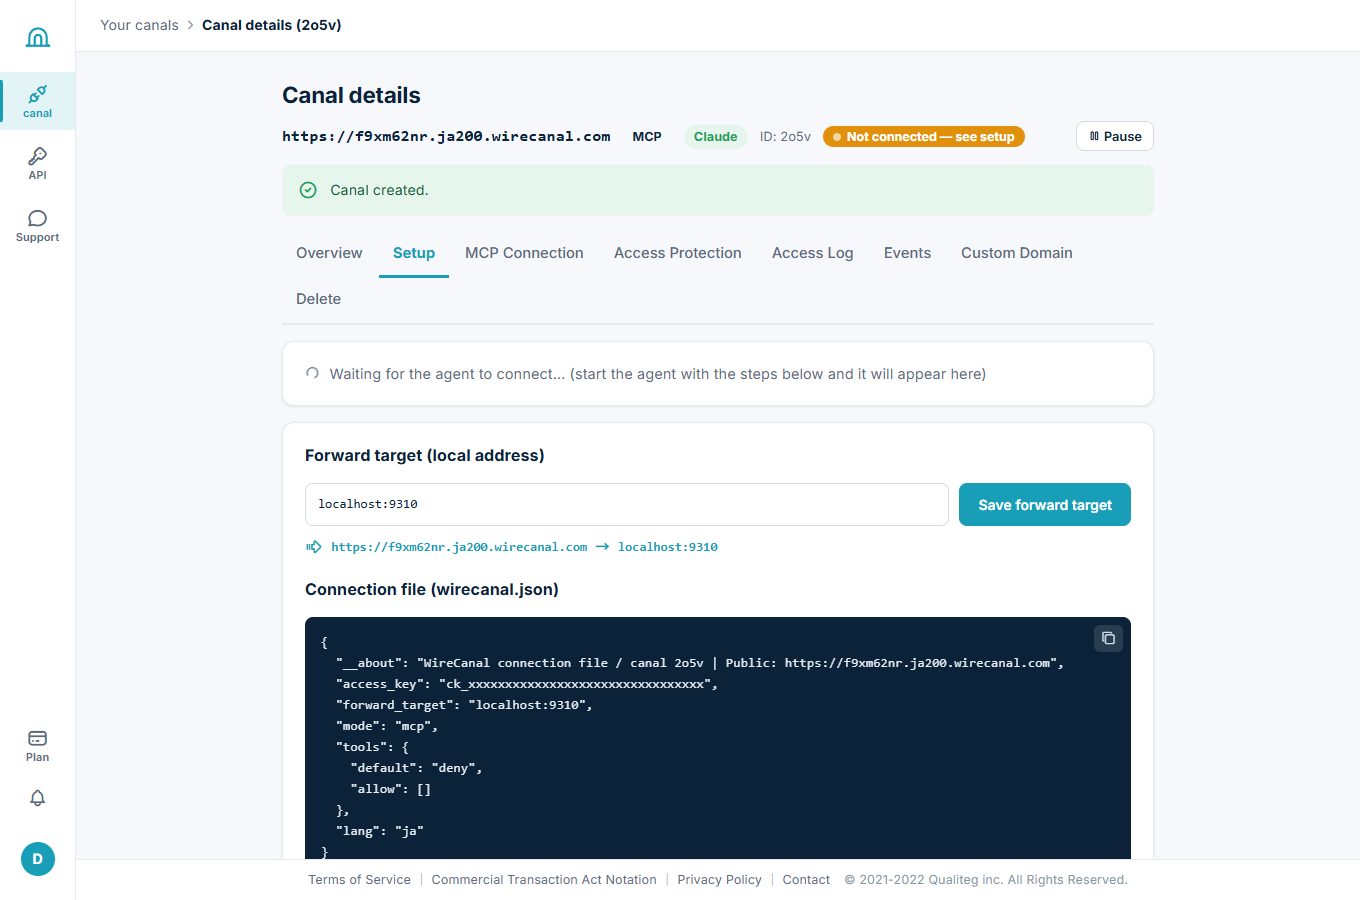
{
  "access_key": "ck_...",
  "forward_target": "localhost:9310",
  "mode": "mcp",
  "tools": { "default": "deny", "allow": ["get_time", "echo"] }
}
Start the Agent on the same machine. No inbound ports need to be opened. If you have not installed the Agent yet, or want to keep it running as a service (auto-start), see the OS-specific setup guides.
wirecanal.exe -config wirecanal.jsonWhen the startup log shows a line saying that canal <ID> will deliver access to https://<hostname> to your local forwarding target, the connection is established.
In claude.ai, open Settings → Customize → Connectors.
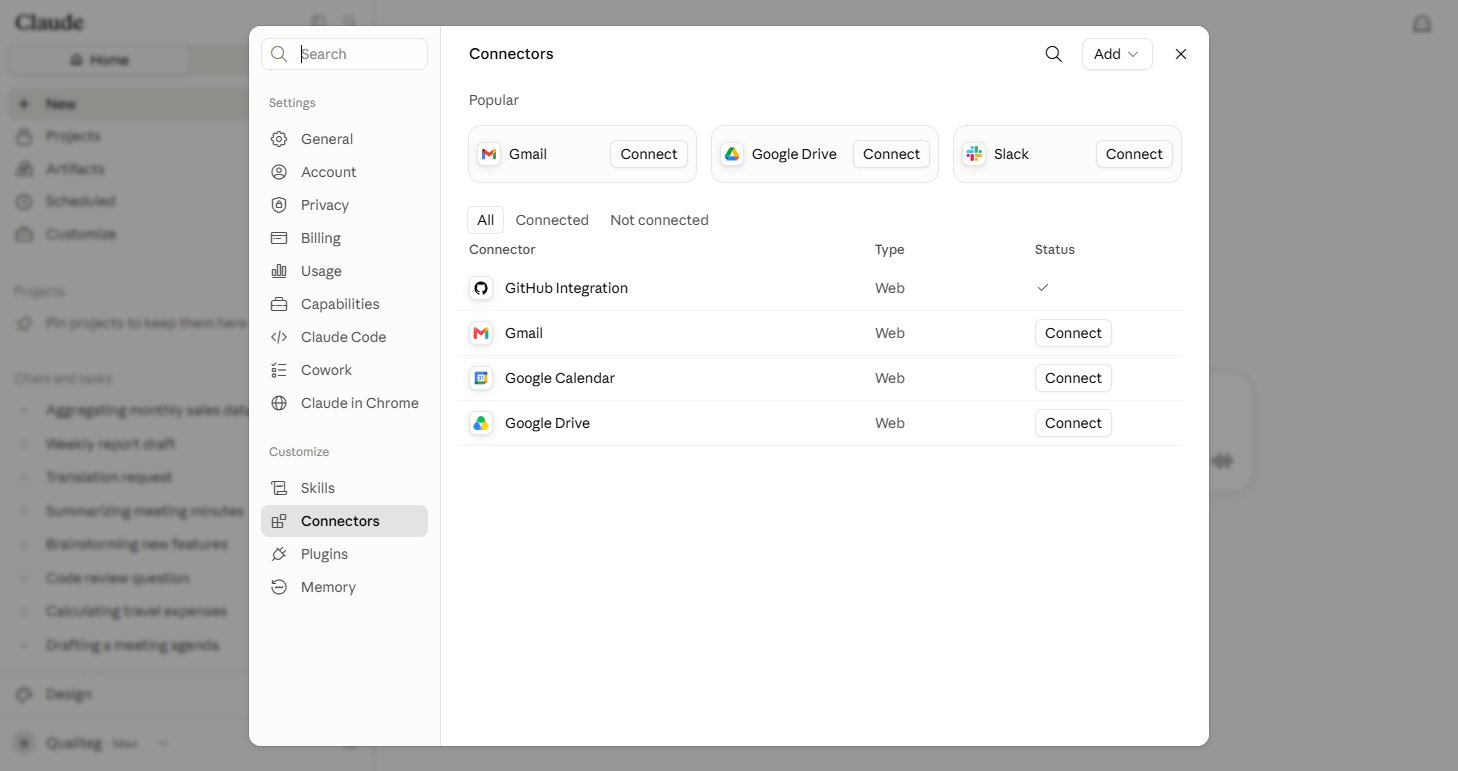
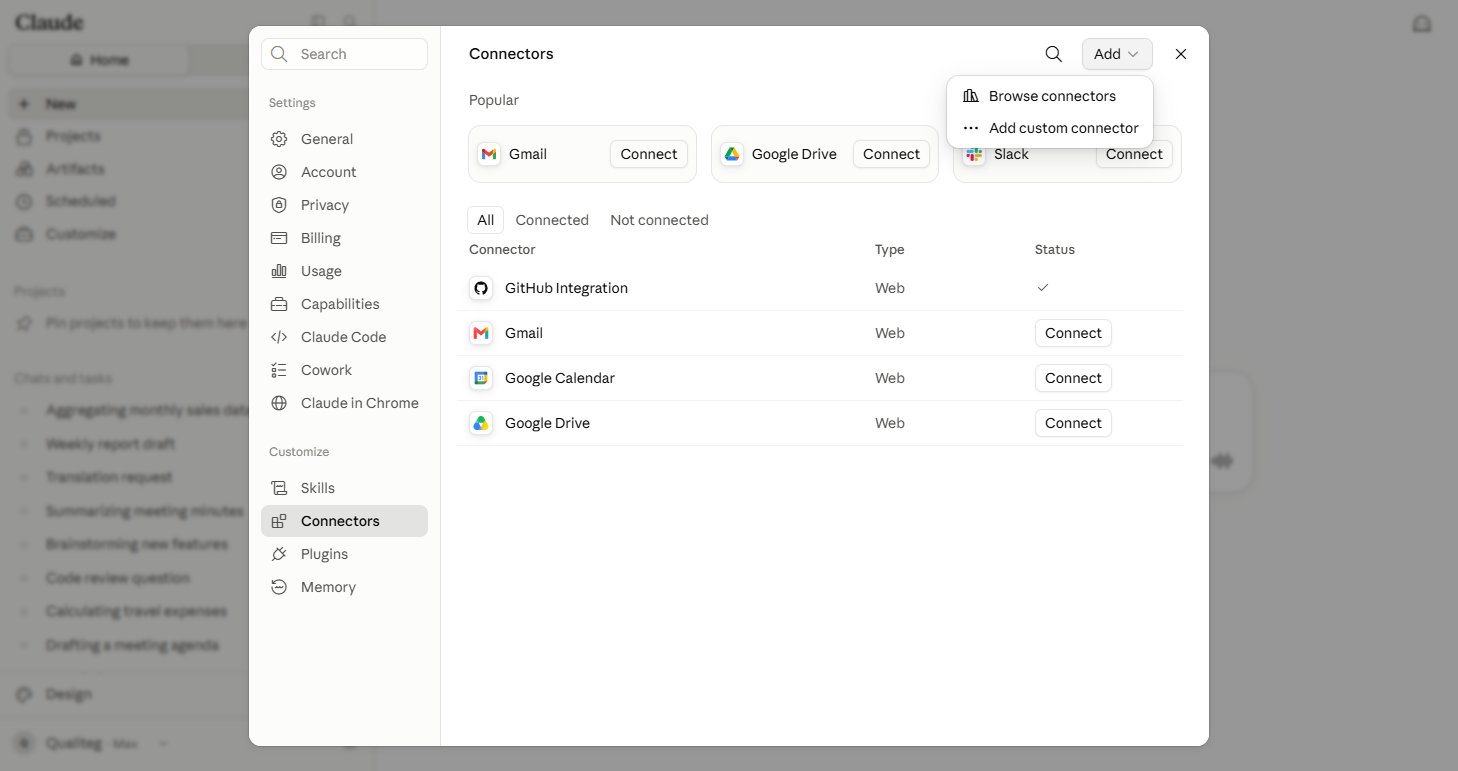
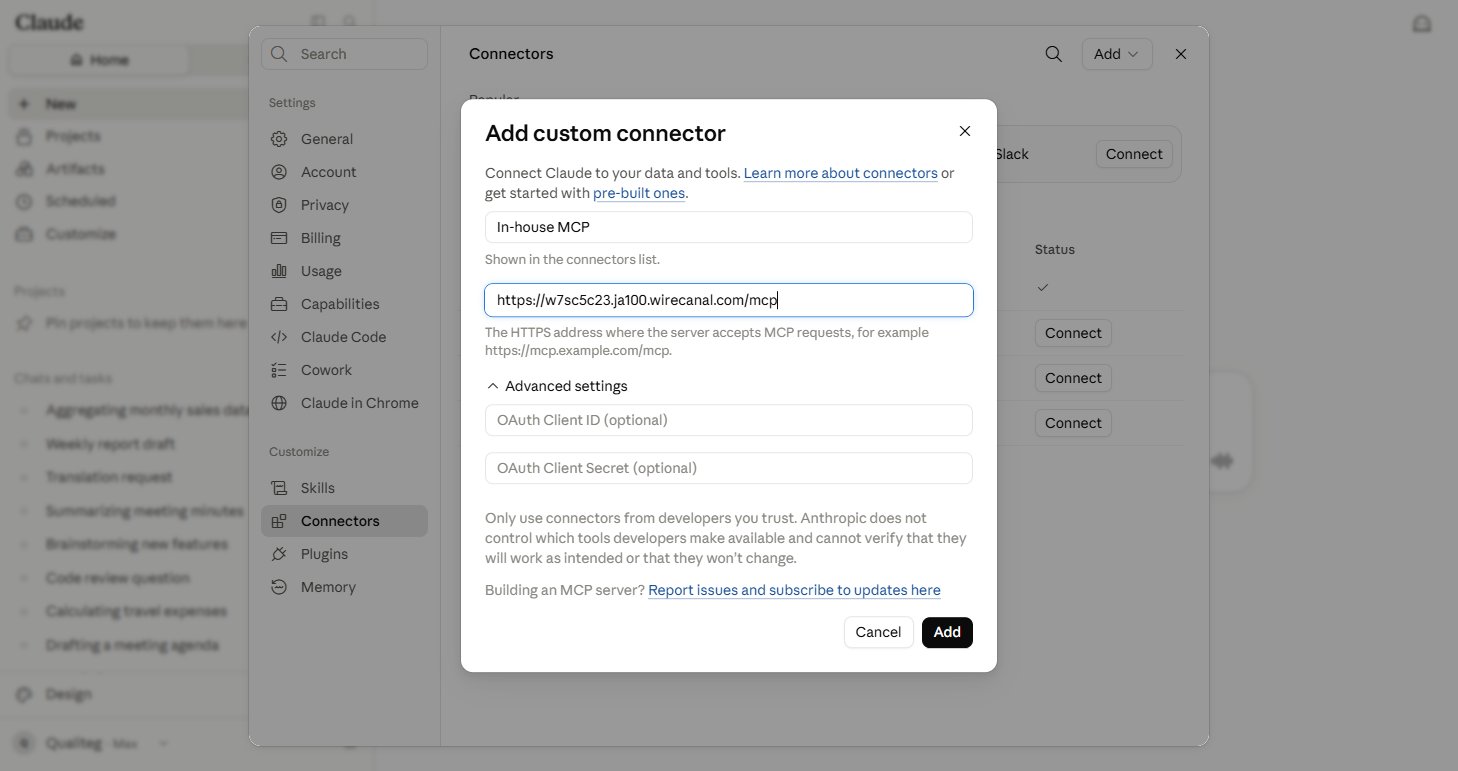
Click "Add" at the top right, then choose "Add custom connector".
/mcp (e.g. https://<hostname>/mcp)The OAuth Client ID / client secret under "Advanced settings" can be left empty (client registration is automatic). Only if you want to configure them manually, open "Advanced settings" and paste the client ID / secret from the canal's "MCP connection" tab.
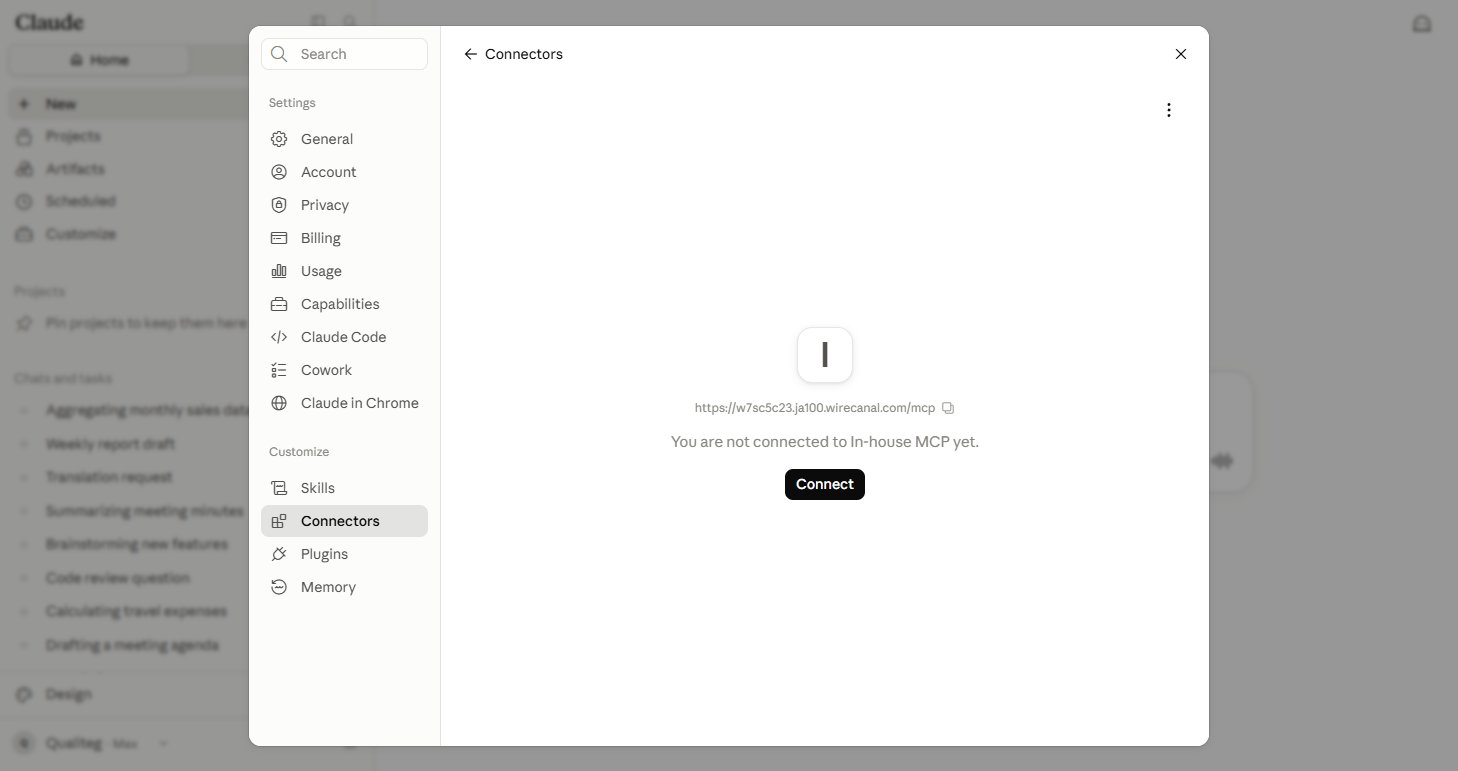
On the screen for the connector you just added, click "Connect" — WireCanal's connection-consent screen will open.
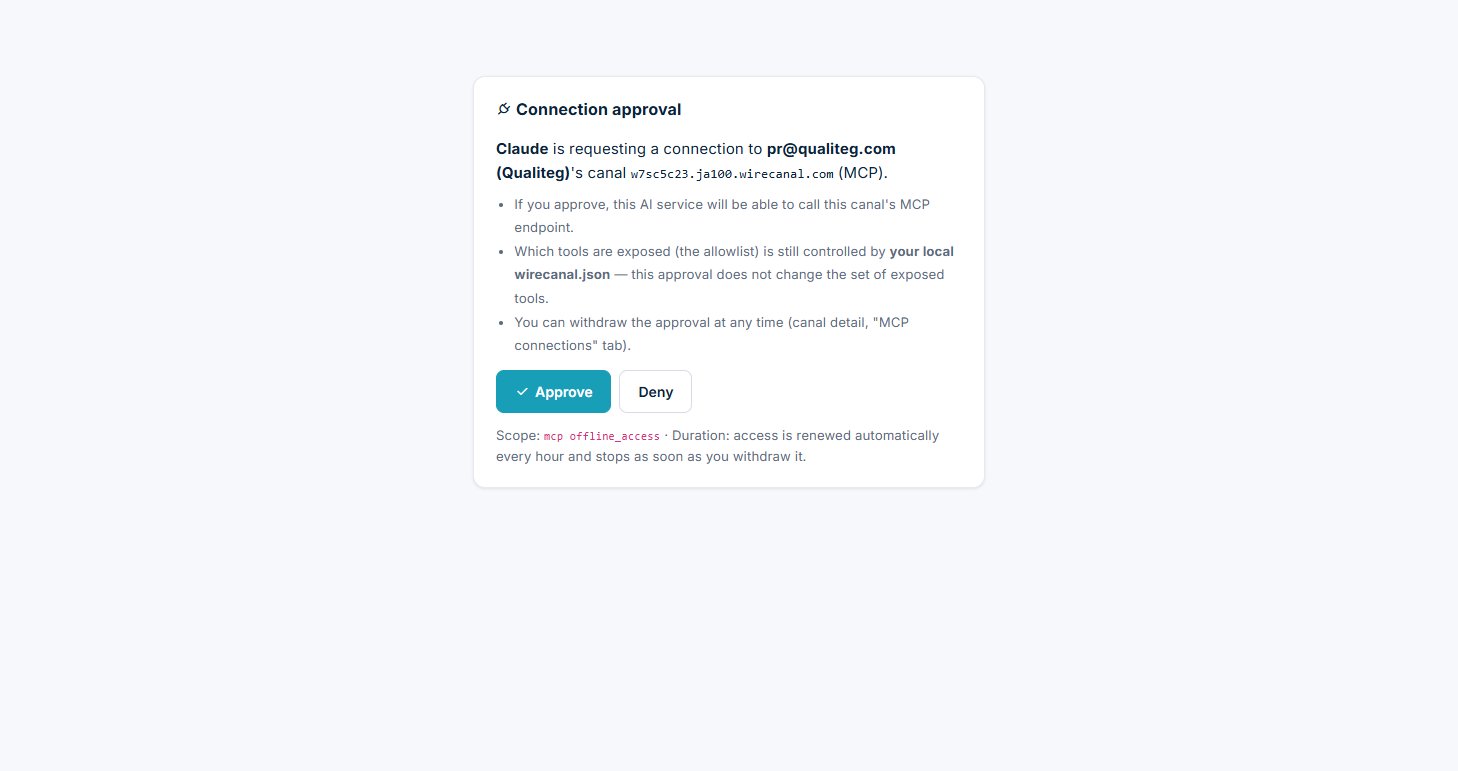
"Claude is requesting a connection to your canal" — review the details and simply click "Approve". Only the canal owner can grant approval.
Log in to both Claude and WireCanal in the same browser (same profile). If they are split across profiles, a login screen will open instead of the consent screen.
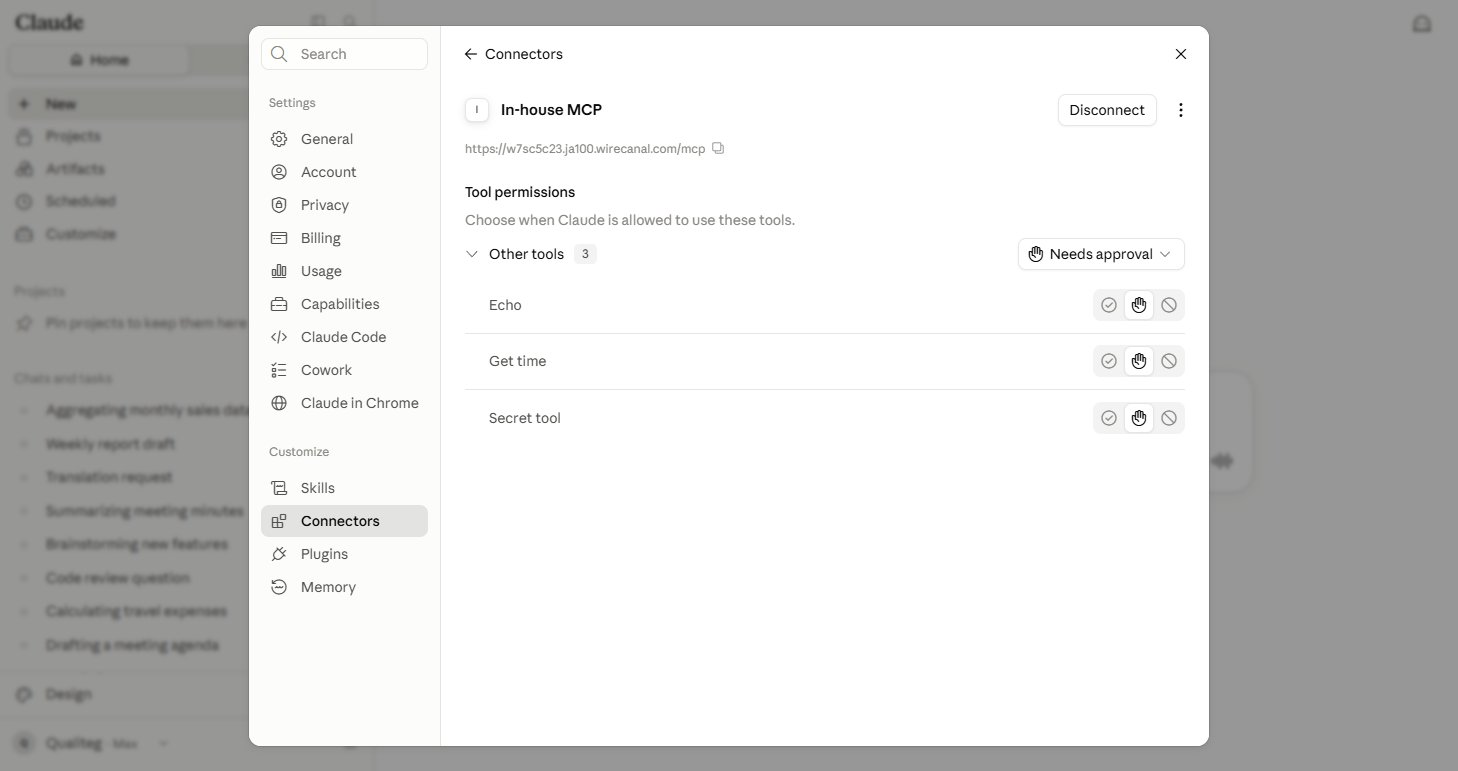
Once connected, the connector screen shows the tool list of your local MCP server along with its permission settings.
Just call the tool in a chat. The first time, a confirmation appears per tool — click "Always allow" once.
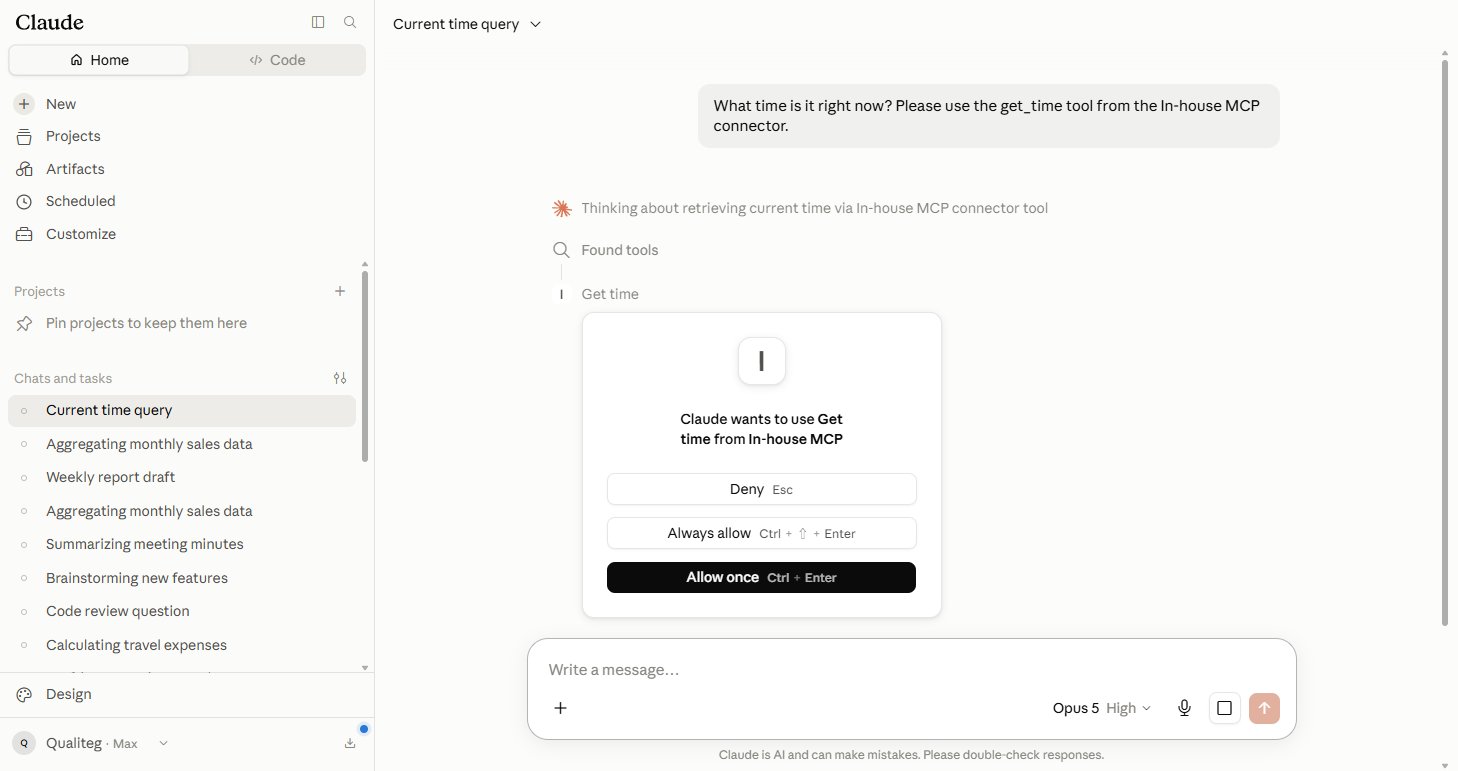
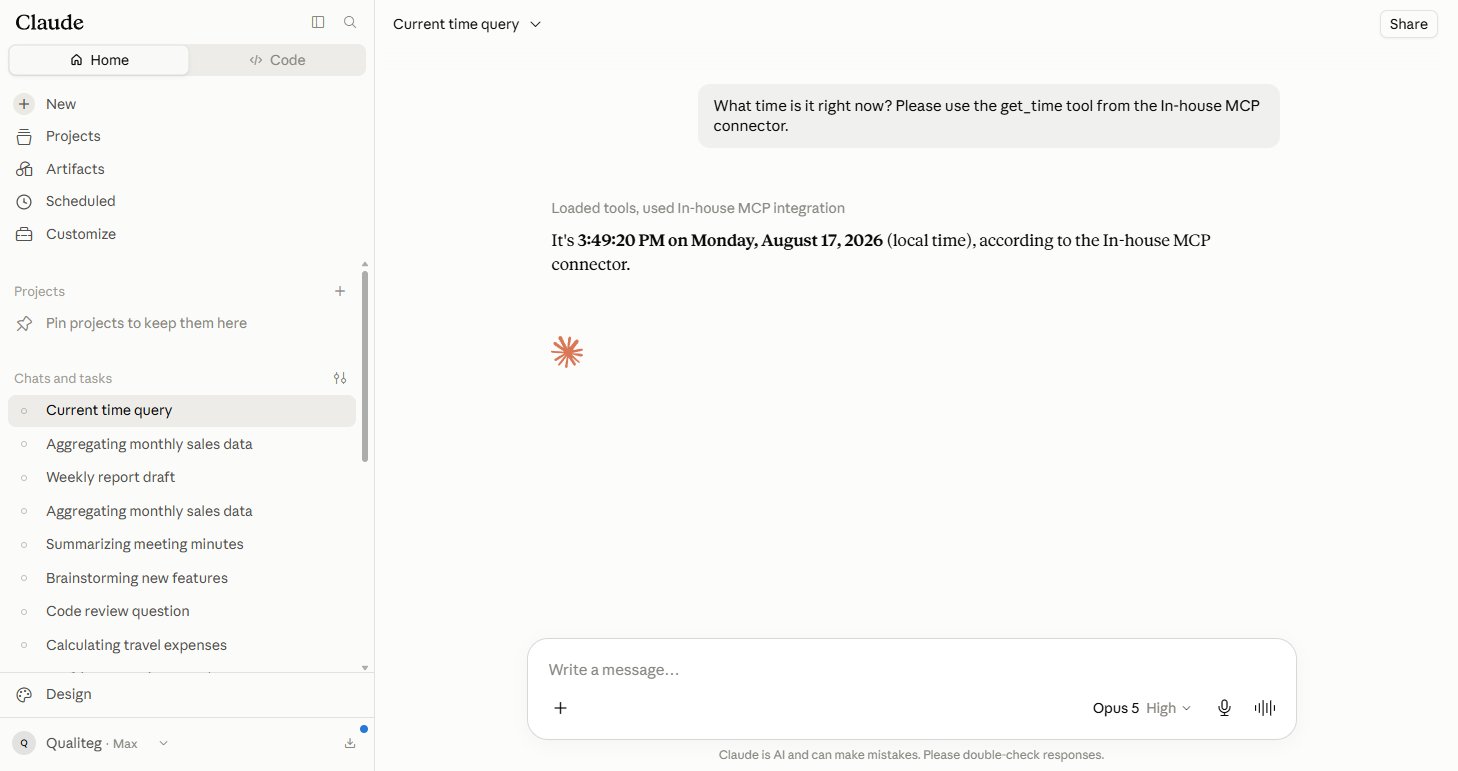
For example, ask "Use get_time to tell me the current time in Japan" — and the real data returned by your local MCP server is used in Claude's answer.
If a tool is not in tools.allow, the local Agent refuses it on the spot even when the AI tries to call it. The decision about which tools to show always stays on your side (two-key).
Sign-up is free. No credit card required — create your first canal right now.
 WireCanal