① Create a canal (your public entrance) on the dashboard, then ② install and start the Agent on the machine running the server you want to publish — that is all it takes to open the tunnel. No inbound port openings, no VPN. The whole process takes about 10 minutes.
Create your public entrance on the dashboard and download the connection file (wirecanal.json). Step-by-step with real screenshots.
How to install, start, and keep the Agent running on the machine that hosts the server you want to publish. Explained separately for Windows and Linux.
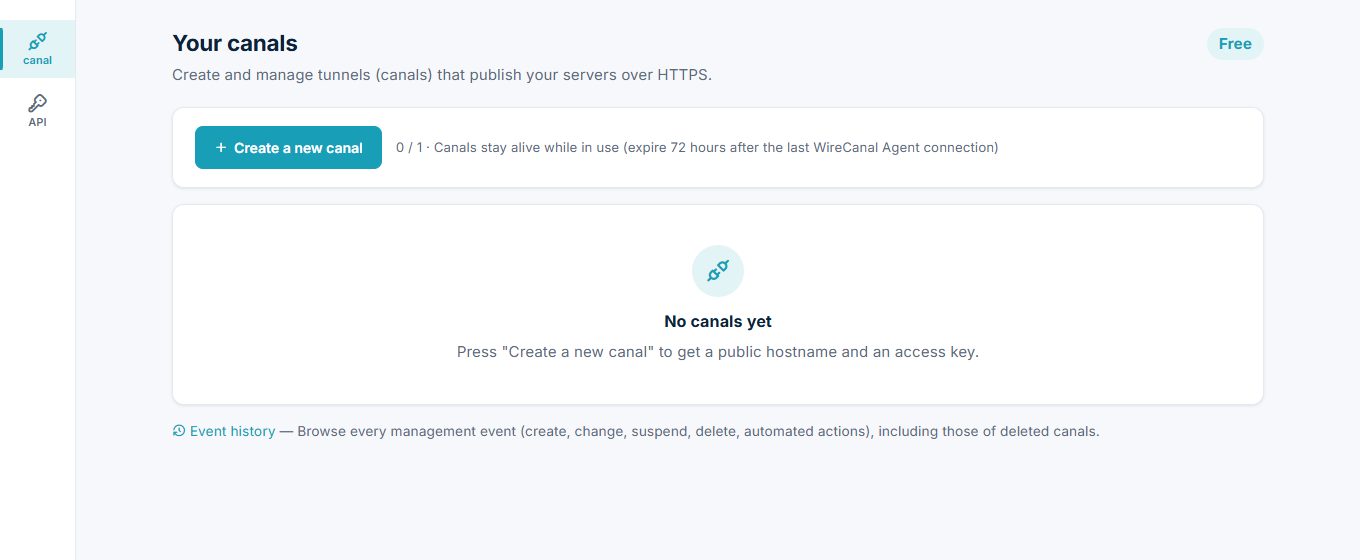
A canal is one unit of "which public address delivers traffic to which local server." If you do not have an account yet, sign up at app.wirecanal.com (you can try it on the Free plan).
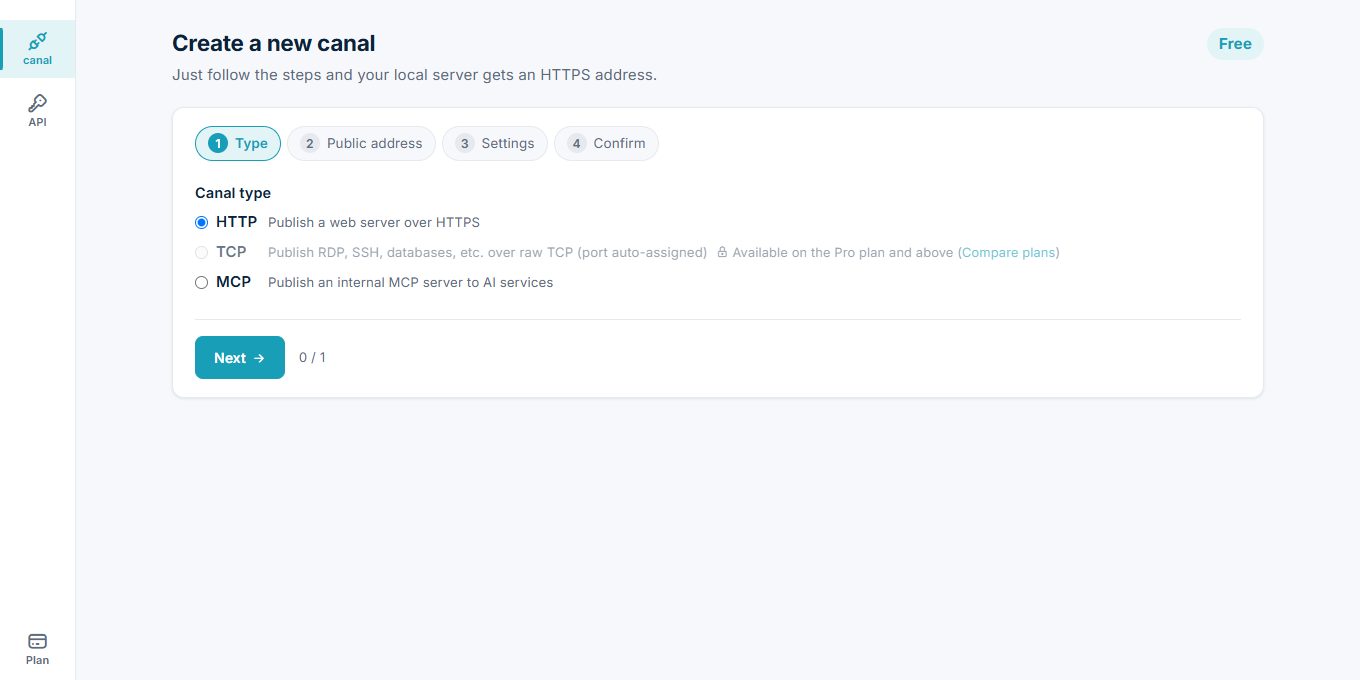
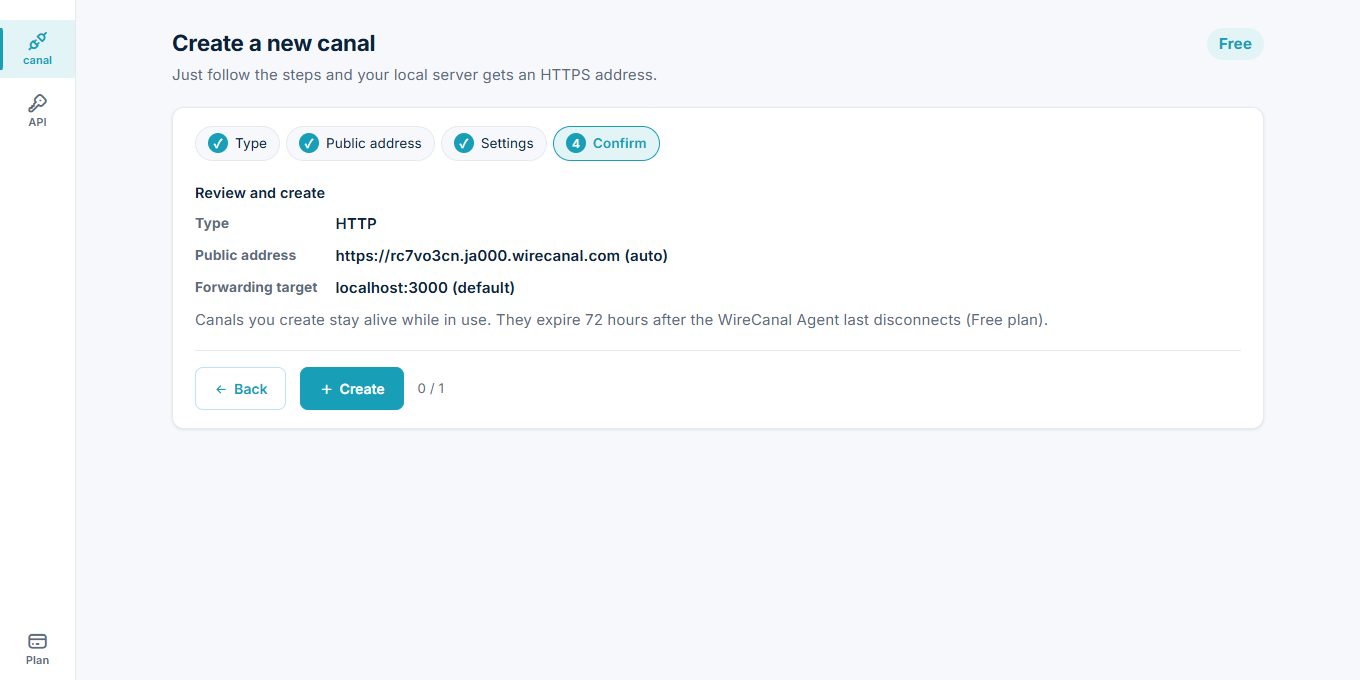
To publish a local web server over HTTPS, the default HTTP is fine. Choose TCP (Pro and above) for RDP, SSH, databases, and the like, or MCP to use an in-house MCP server from AI.
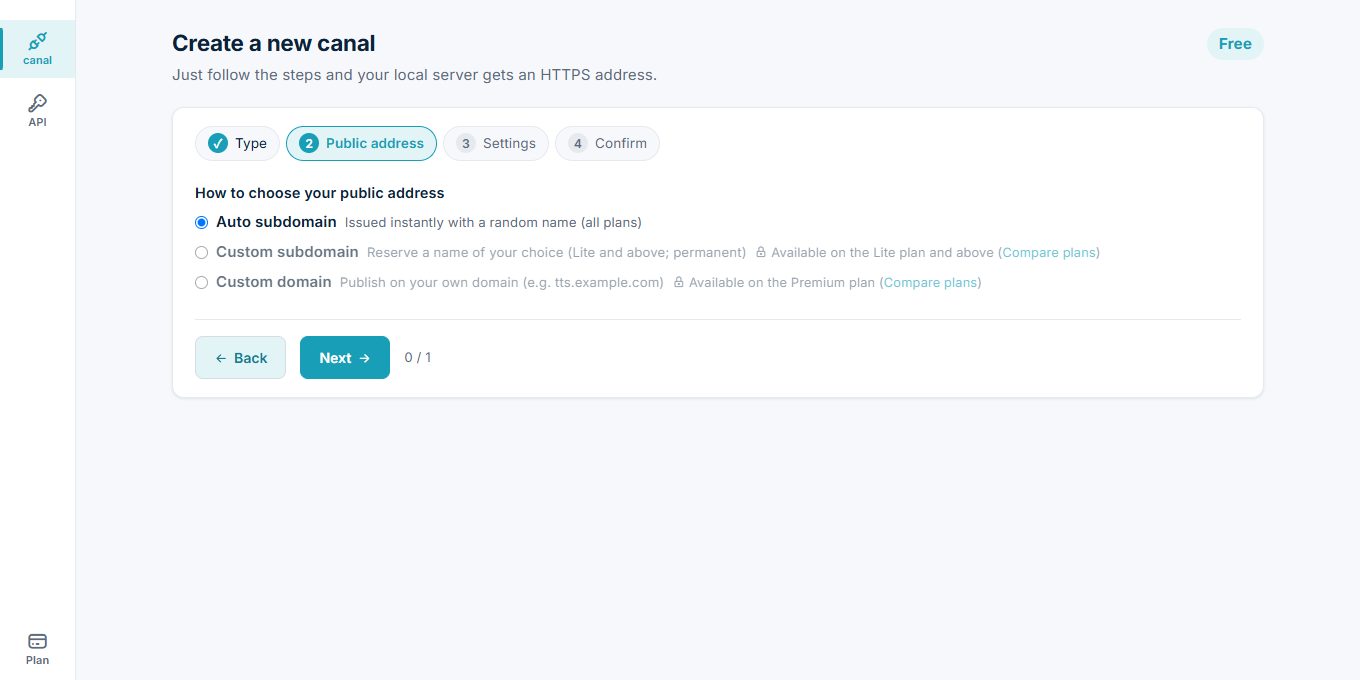
With "auto-assigned subdomain," your public address (hostname) is issued on the spot. You can also reserve a name of your choice (Lite and above) or bring your own custom domain (Premium).
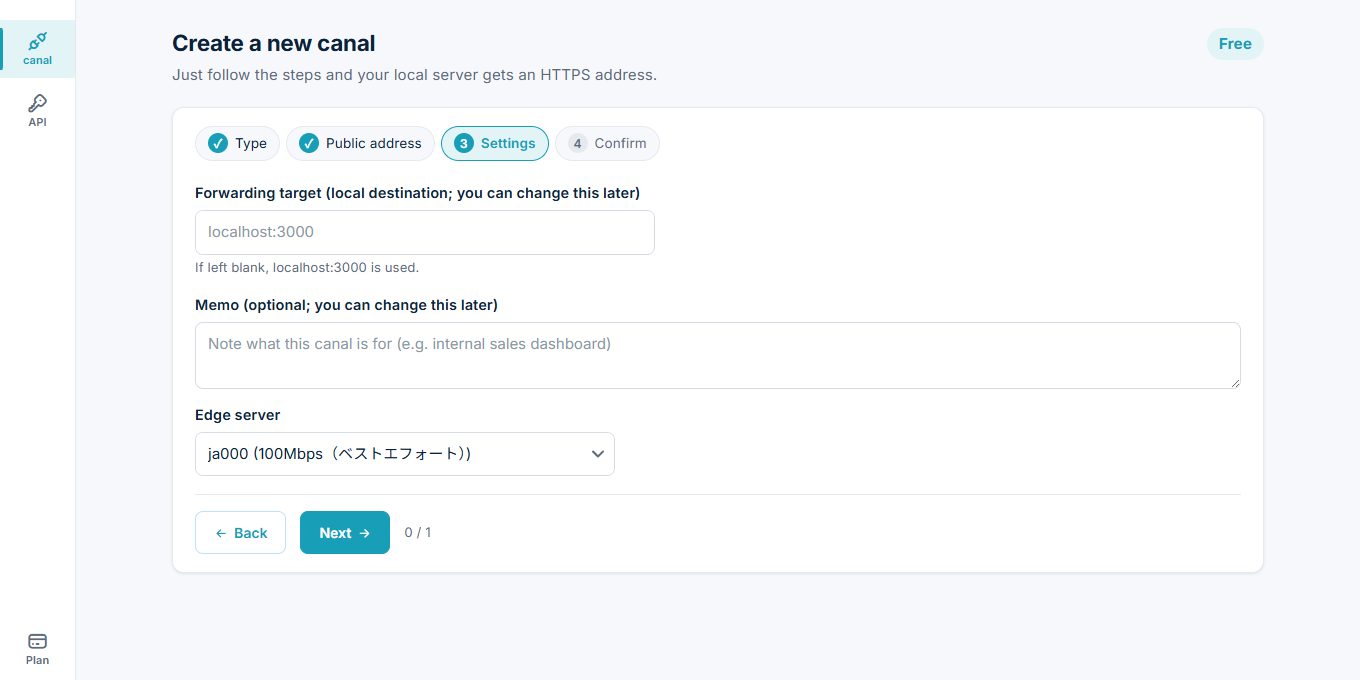
This is where traffic arriving at the public address gets delivered on your side. If left blank, it defaults to localhost:3000. You can change it anytime later, so there is no need to agonize here.
After creation, the "Setup" tab of the canal details opens. Download wirecanal.json here. It contains the connection key dedicated to this canal, and in step ② you will place it in the same folder as the Agent. It basically contains just 2 keys and works as is (for all options — proxy, auto-update, multiple canals, MCP tool allowlists, and more — see the wirecanal.json configuration reference).
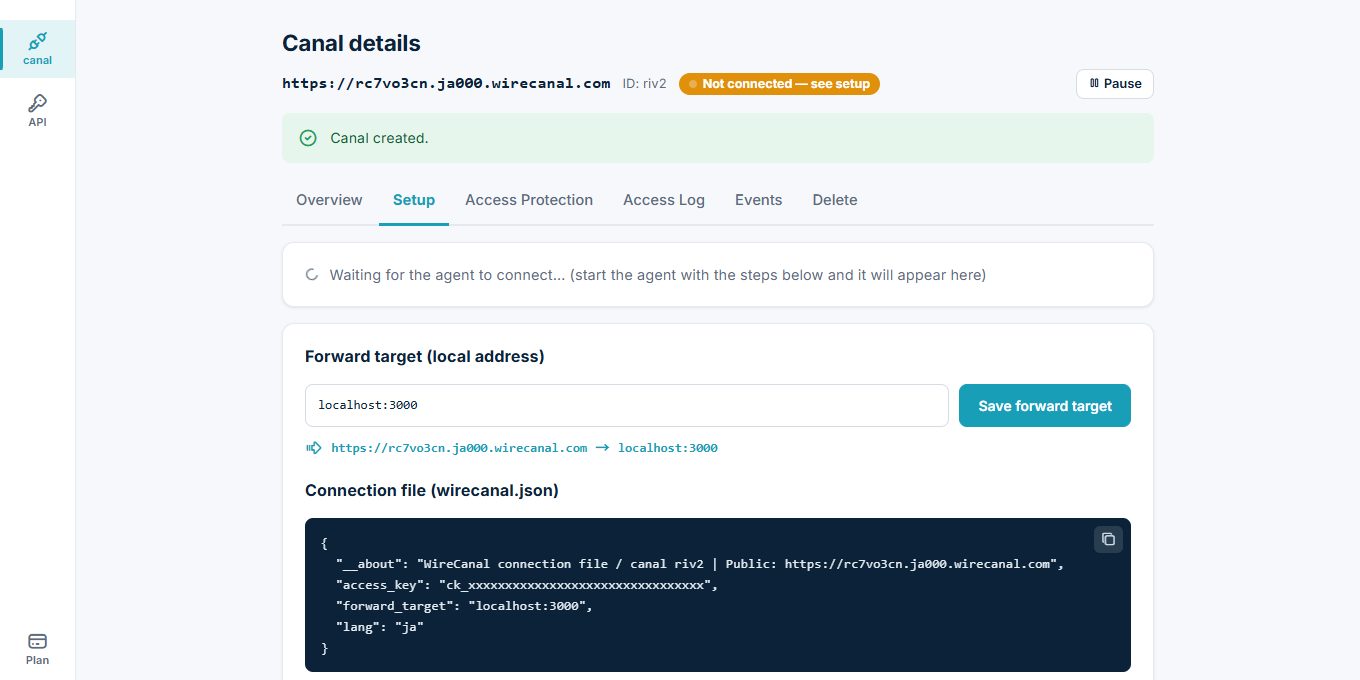
The top of the page shows "Waiting for the Agent to connect…". Once you start the Agent in step ②, this changes to "Connected!" and your public address goes live.
Install and start the Agent on the machine running the server you want to publish (your local machine). The Agent is a single executable with no runtime dependencies, installable with a one-liner. Follow the guide for your OS (from install and startup to running it as a resident service, with copy-and-paste commands).
Install with a PowerShell one-liner. All the way to Windows service registration (automatic startup, no logon required).
Install with a one-liner. Includes a systemd template for resident operation. Raspberry Pi (64-bit or 32-bit ARM) and small IoT boards use the same steps.
The Agent connects to WireCanal using outbound connections only (it opens no inbound ports at all). Incoming traffic is never connected to any destination other than the forwarding target you configured (localhost, etc.) — the fixed forwarding destination. Releases are signed, and auto-updates are applied only after signature verification.
Sign-up is free. No credit card required — create your first canal right now.
 WireCanal